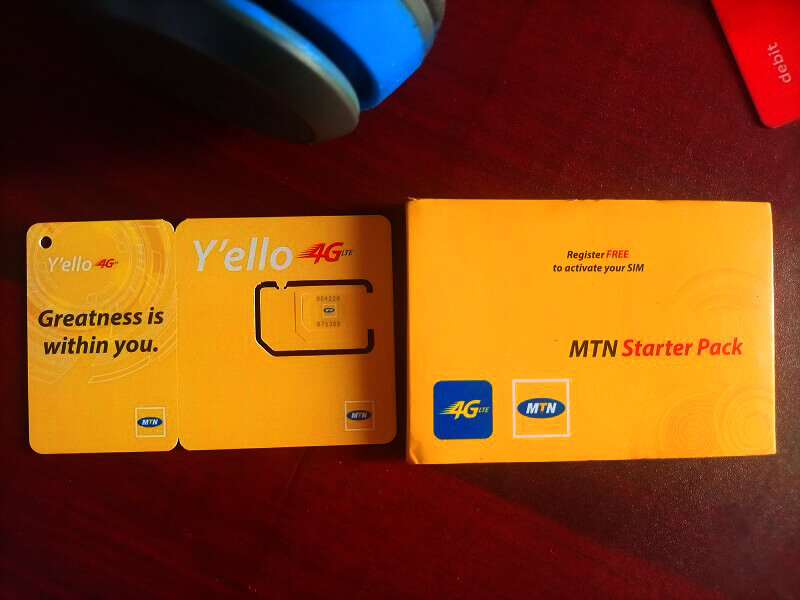
Trying To Restore Backup From Your MTN Backup? Here Is How To Go About It
Restoring your contacts is a crucial task, especially when using MTN Ghana, where they emphasize the importance of regular backups.
If someone else has already performed the backup for you, and now you’re looking to retrieve your contacts, this article will guide you through the process.
Before delving into the restoration process, let’s first understand the service we’re discussing for those who might be unfamiliar with it.
Once we have a clear understanding, we can proceed with the step-by-step guide on how to restore your contacts on the MTN Ghana network.
What Is The Mtn Backup Service?
The service provided by MTN Ghana to back up contacts is a valuable feature for subscribers. It ensures the security of contacts by storing them on the cloud, safeguarding against potential loss in case of mobile device issues.
This option provides a convenient means for MTN Ghana users to restore their contacts to their SIM cards whenever necessary. Now, let’s proceed with the steps to restore your contacts using this service.
Backup Requirements
To utilize the MTN backup service for contacts, there are specific requirements that need to be met. Firstly, ensure that you have a 128k SIM card, as SIM cards with lower capacities may not support the backup service.
Additionally, the device used for backup should be manufactured by one of the following: Samsung, Lenovo, Xiaomi, Vertu, Nokia, LG, Alcatel, Motorola, Panasonic, Sony, Meizu, or ZTE. Meeting these requirements will enable a smooth and successful contact backup process.
Starting The Backup Process
Here is how to restore the contact on your mobile device. There are two processes through which you can do this.
You can activate the MTN Backup service either through customer care or through the MTN menu on your mobile device.
- First, to activate it through customer care, call the MTN 100 line and then choose nay Ghanaian language of your choice to transact in
- Choose 5 so that you will be connected to an agent
- After the agent takes your call, explain to him or her that you want to activate the backup service on your device and listen to what the agent will say
- After it is done, you will be sent a message alerting you that the service has been activated on your phone. Anytime a backup is done, you will receive a message to notify you.
Activating Through The SIM
- Go to your phone menu and select my MTN
- Choose ‘MTN backup’
- Choose ‘synchronize from the list that comes
- You will be notified that the activation has been successful
- Click on ‘ok’ and then wait for a while
- A payment confirmation will be sent to you. Enter the PIN of your mobile money wallet
- Now choose option 1
Restoring Contacts
When trying to restore the backup contacts to your mobile device, there are some simple steps to follow.
- You will have to visit the MTN backup portal online
- After you have accessed it, go to the devices menu on the MTN backup menu and then check. Check to see the last device that was used to make the backup.
- Now choose the new one which you would like to restore the backup contacts onto
- Now select ‘sync now
- You will be sent a message that the synchronization is in progress.
- Click on ‘continue’ and then wait for it to complete
- After it has been completed, you will then see that all the backup contacts have been restored to the device you are holding. In this way, you will be able to keep all your contacts safe.
FAQS
The MTN backup is not free as it comes with some small charges. You will have to pay an amount of GHS 0.65 when you start the service on your mobile device. You will be making this payment every month through your mobile money wallet.
You can backup a total of 200 contacts from your SIM card and another 5000 from your mobile onto the service for safekeeping.
Conclusion
Restoring your contacts through the MTN backup service is a quick and straightforward process, ensuring that you retrieve all your contacts effortlessly onto your new device without any loss.
To initiate the service, simply activate it on your mobile phone. The service will then automatically back up your contacts every two weeks, ensuring that all newly added contacts are securely saved.
This feature is particularly beneficial for individuals who may forget to back up their contacts regularly, providing an automated and reliable solution for contact security.


