How To Remove Apps That Were Pre-installed On Your Windows 10
The Windows 10 operating system, initially provided by Microsoft at no cost, does come with certain features and applications that users may find unnecessary.
While users can access all the features without charge, there is a trade-off when viewing advertisements.
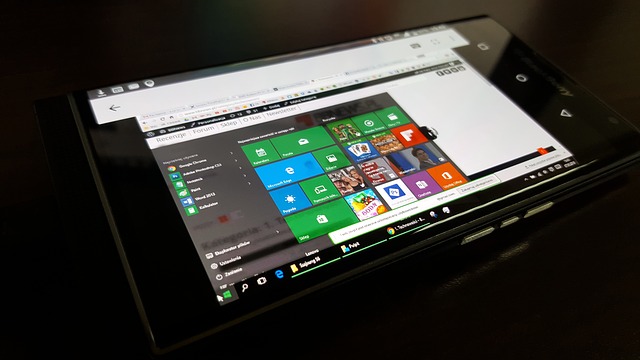
Notably, these ads appear on the Start menu, suggesting various apps, such as OneDrive, Office, Skype, and others.
For users transitioning from Windows 7 or 8 to Windows 10, the presence of pre-installed apps, some of which may be deemed unnecessary, can be a concern.
Apart from the ads, these apps occupy storage space on the device, prompting users to seek a means of removal to free up valuable storage for more essential applications.
Recognizing the importance of optimizing device storage, this article provides a guide on removing pre-installed apps from your Windows 10 machine.
By following the steps outlined, users can efficiently reclaim storage space, ensuring that their device is tailored to their specific needs.
If you are a Windows 10 user seeking to declutter your system and create room for more pertinent applications, this article is tailored to assist you in the removal of unnecessary pre-installed apps, facilitating a more personalized and streamlined computing experience.
How To Remove Pre-installed Windows 10 Apps
Now, to remove the pre-installed apps, there are ways that you will have to follow. Let us take a look at them. All you have to do is follow the simple that have been listed below to get rid of the unwanted pre-installed apps on your machine.
- Open the Settings app on your Windows 10 system
- Now press Windows key + I. This will open the settings app
- Now click on ‘apps’
- Now click on ‘apps and features’ this can be located on the left pane
- Scroll down and choose the app you are looking to install and then click on uninstall.
After completing the process above, you will see that the particular app has been removed from the computer. You can do this for all the apps that you are looking to remove from your computer.
How To Disable Apps Suggestion Feature
In case you do not want to remove the apps but do not want to be notified of them by anything, you can get that done in the settings as well. Doing this can be done in the settings as well. Please follow the steps below.
- Go to settings again
- Go to ‘personalization’ and then head over to ‘start’
- Now locate ‘occasionally show suggestions in the start’. Disable it.
This will cause the ads that tell you to open an app in the start menu to cease from then on.
How To Disable Microsoft Consumer Experience
You can also disable the Microsoft consumer experience. The apps and suggestions are all part of the Microsoft consumer experience.
This can be disabled as well if you wish to do so. Doing so will stop the apps and suggestions from playing again.
However, this can only be done if you are using the enterprise edition of the Windows 10 operating system.
So in case, you are running the enterprise edition of Windows, please just follow the short steps below to disable the Microsoft consumer experience.
- Open RUN dialog box and type in ‘gpedit.msc’
- Now head over to ‘computer configuration’
- And then to ‘administrative templates’
- Now go to ‘windows components’ and then to ‘cloud content’
- Enable ‘turn off Microsoft consumer experiences
And you are done. it will now be turned off. The app suggestions will then stop. Automatic installations of apps will also cease.
Conclusion
So I hope this article has been helpful today. You just learned how to remove pre-installed apps in Windows 10. Make sure to visit the site to get to know how to do more things on your Windows 10 system.


