How To Test A Microphone On Your Windows 11 Machine
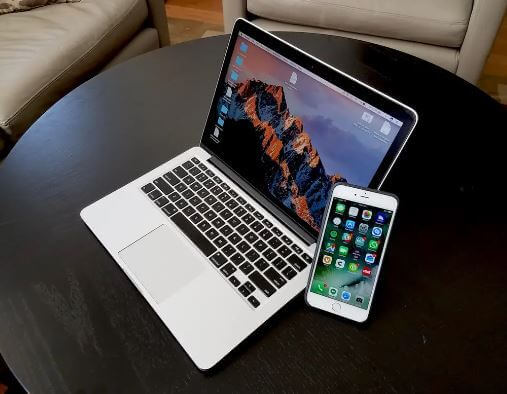
For those using the Windows 11 operating system, especially those involved in sound engineering, music, podcasts, and similar activities, testing a microphone’s functionality is crucial.
This process helps determine if the microphone is working properly and if the audio levels are appropriate. If you have your microphone ready, let’s proceed with the testing process.
How To Test The Microphone On Windows 11
First of all, you will need to make sure that you have connected the microphone to your computer via either Bluetooth or through a USB cable. After making sure of that, you can now follow the steps below.
- Right-click on the speaker icon in the taskbar
- Choose ‘sound settings’
- Scroll down and then locate ‘input’
- Now, click on the arrow icon that is next to the microphone that you are looking to run the test on
- Scroll down and locate ‘properties’ and then screen for the microphone you have chosen and look out for ‘test your microphone’
- Now, click on ‘start test’ and put your speaker to normal volume
If you do not notice any moving blue line left and right, then you will have to check for the operation of the microphone. It may be that windows had not recognized the device. After the test is done, you will see the results displayed right next to the ‘start test’ button.
It will be shown in the percentage output of the total volume that was identified by windows. The volume should be at 75% when you speak normally.
In case you did not see any activity of the microphone while you were testing it, try disconnecting and then reconnect again. Restart the computer if it still does not work. if all these do not work, then you would probably need to download microphone drivers for your machine and then try again.
Conclusion
So this is how you can use your windows 11 machine to test your new microphone to see if it is in the incorrect working condition before you start recording those hit songs.
You can also check out how to add the Pen menu on your Windows 11 computer.